
Looking around our house recently, I realized that we don’t make very many “new” purchases. The majority of our furniture and home decor is vintage, and much of it has been “renovated” in some way, either with new paint or upholstery. Trying your hand at upholstery for the first time can be a bit daunting. The easiest way to “get your feet wet” for the first time, is to pick up something simple, like a small stool or bench.

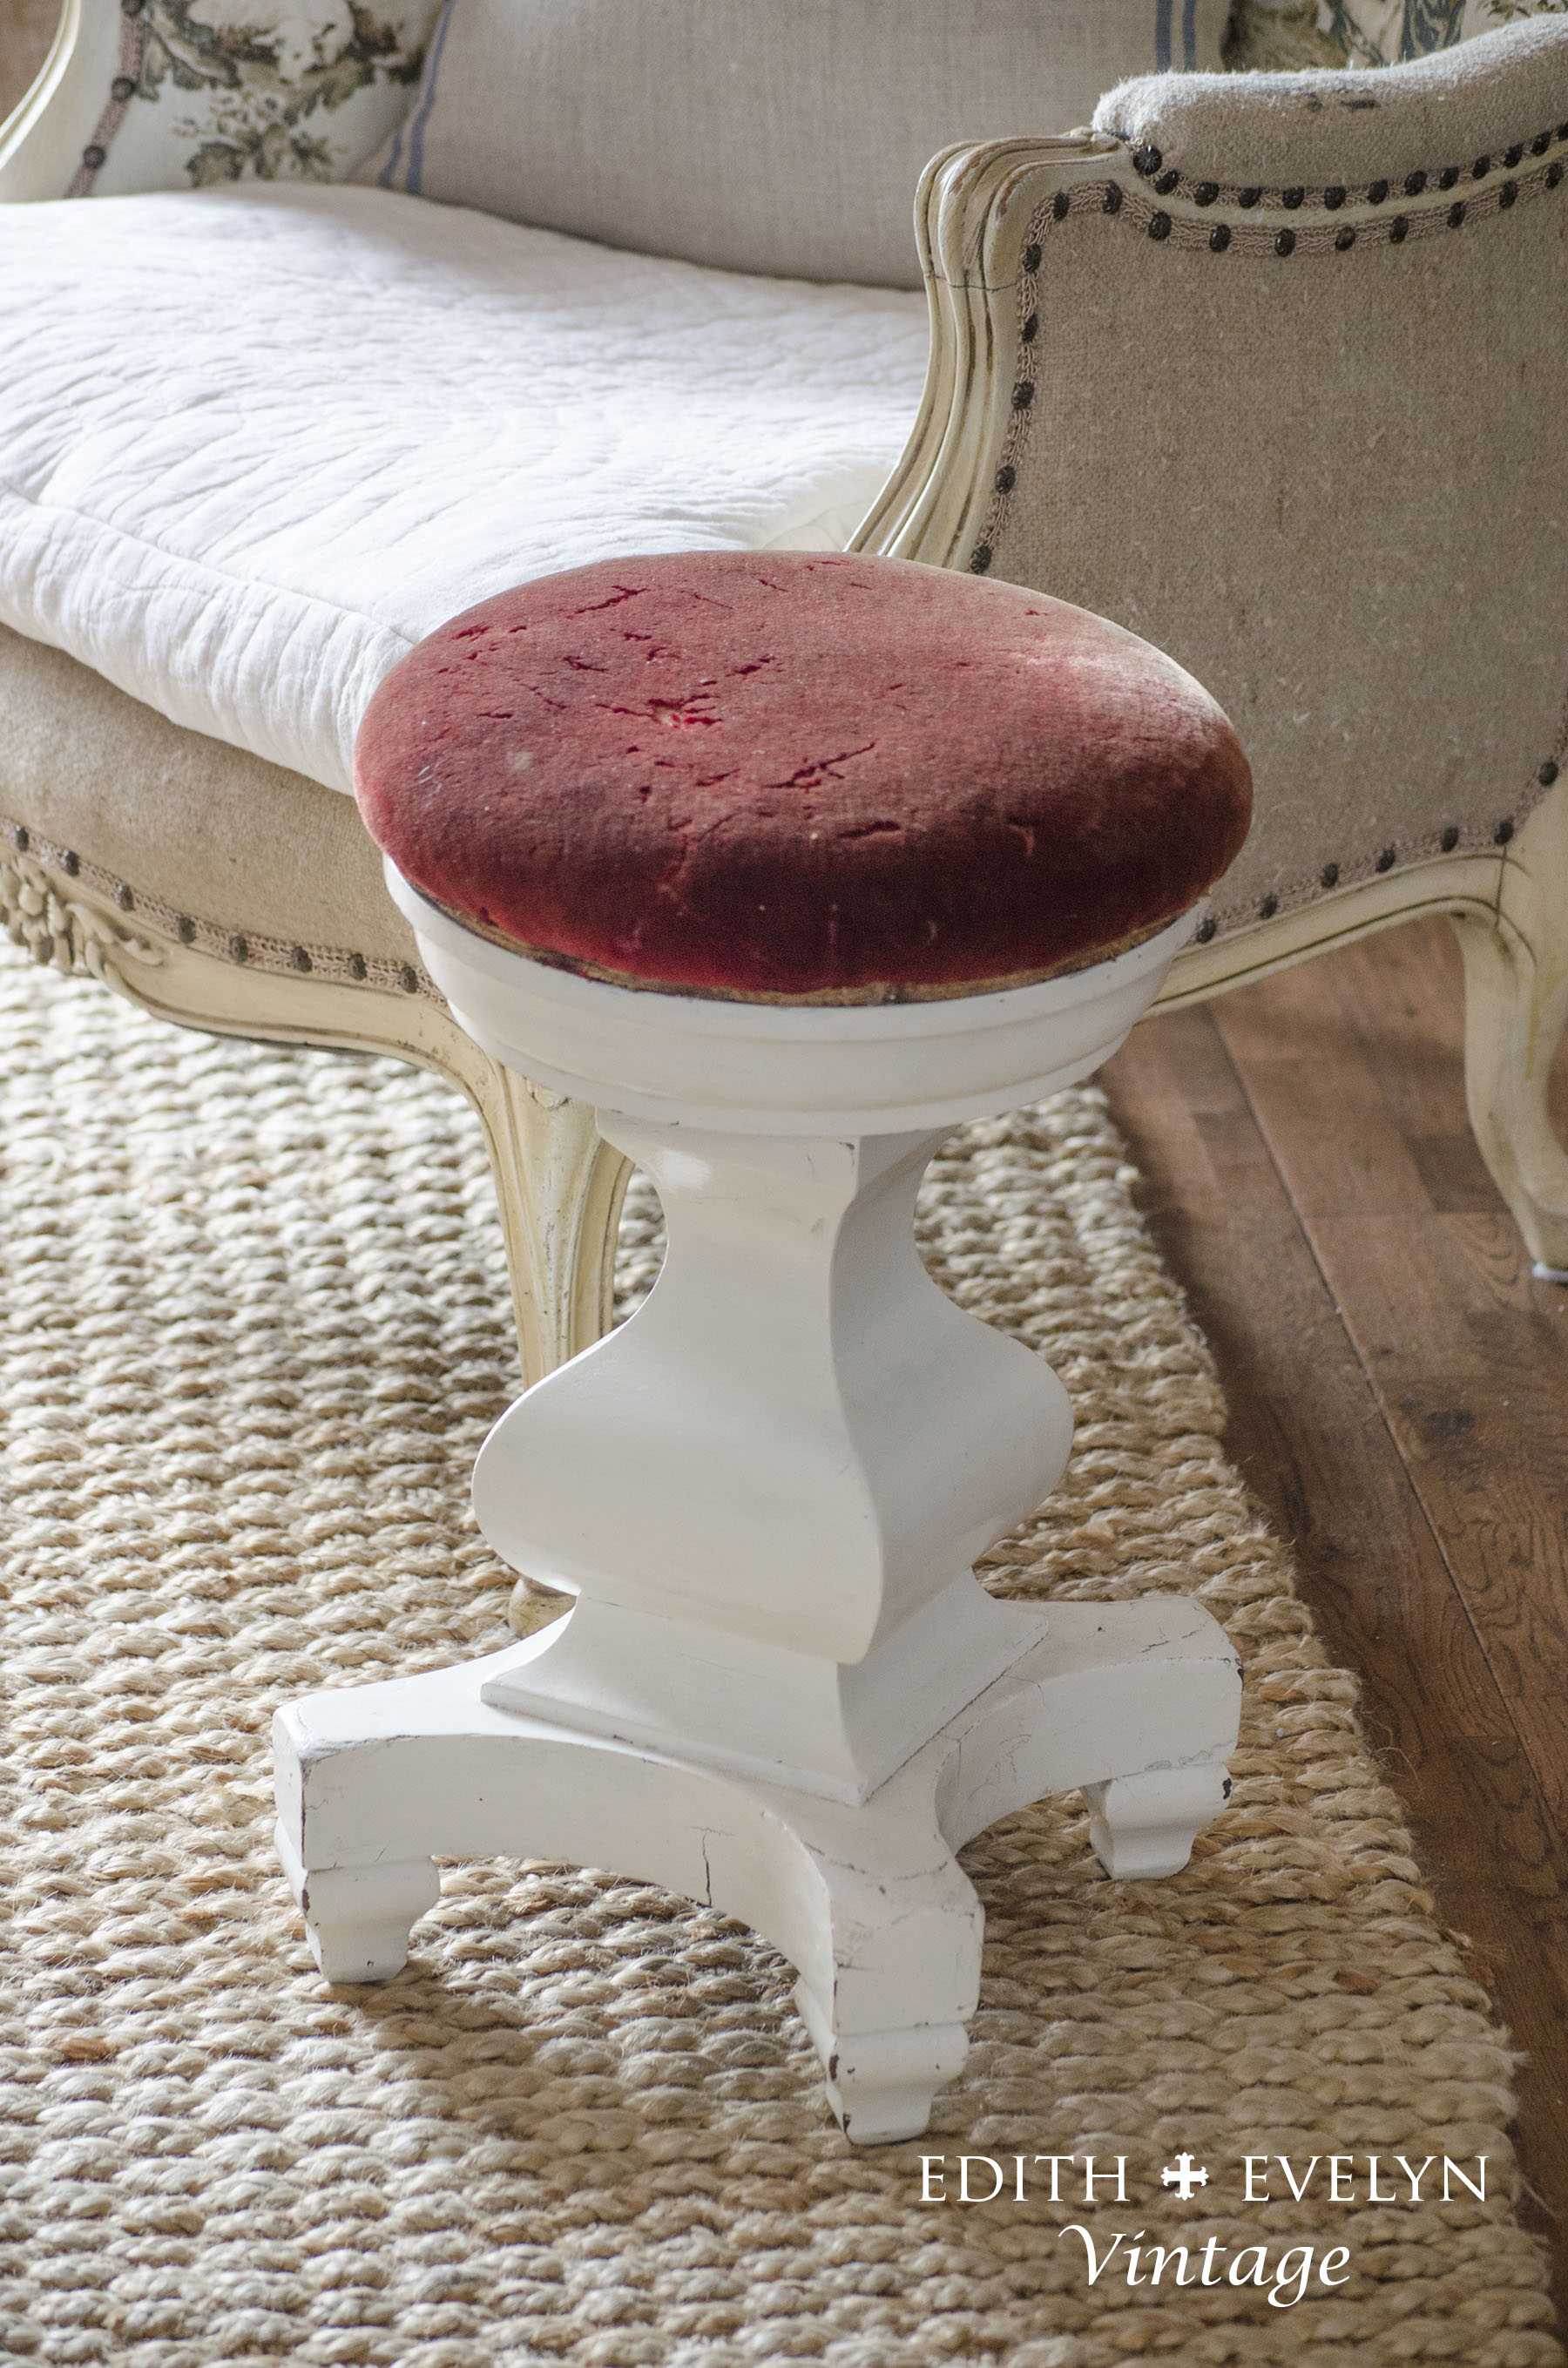
On our picking trip to Florida last month, we found this great little antique piano stool. It had such an unusual design and the top swiveled! I knew it would be perfect for a very simple upholstery project.
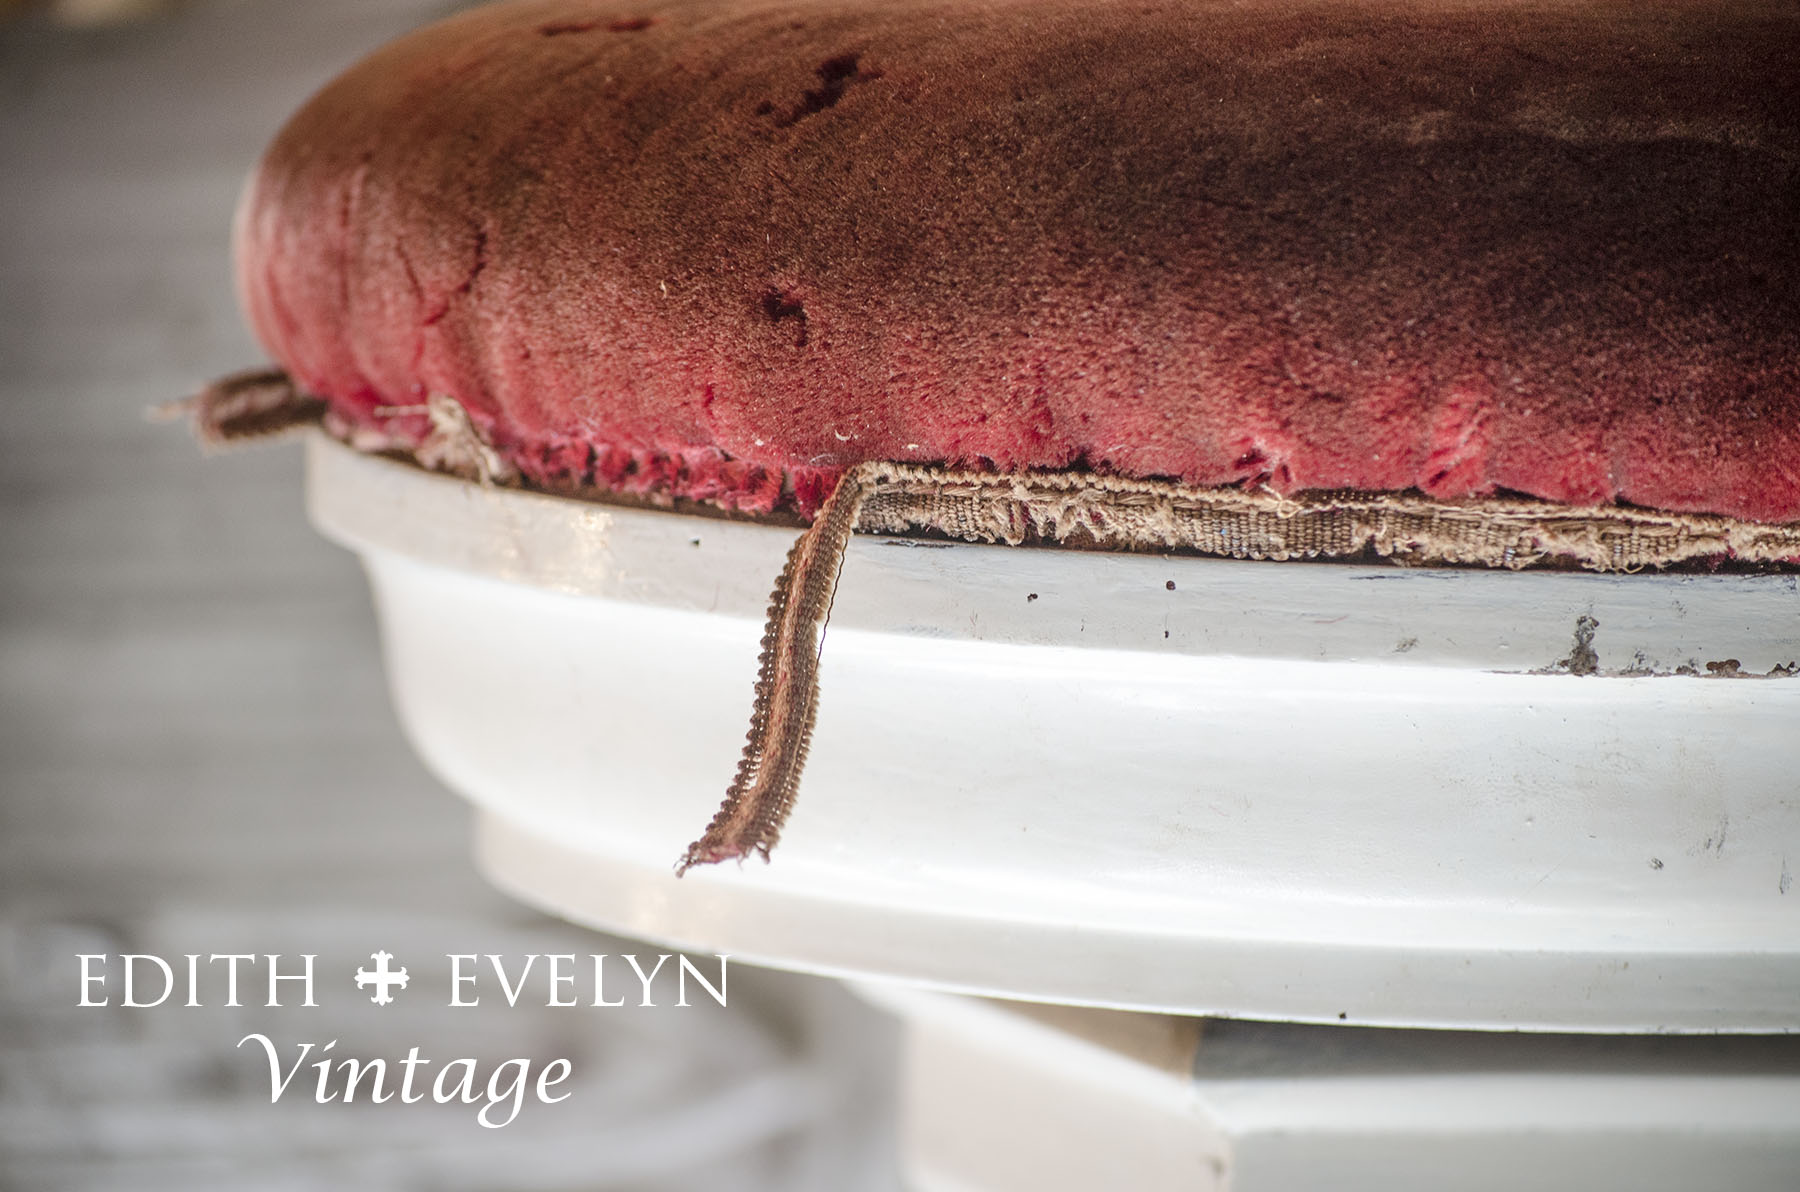
The original upholstery was a very old and worn, reddish colored velvet, which had definitely see better days.
The first step was to remove the old upholstery. I know some people like to upholster right over the top of the old fabric. However, I really prefer not to do that. Sometimes the old upholstery can be pretty nasty and I always feel better getting rid of it.
Start by removing any trim. My preferred tools for this are usually a flat tip screw driver and needle nose pliers. I’m sure there are appropriate, specific tools, designed for removing staples and upholstery tacks, however I don’t have them. Using the flat tip screwdriver, I carefully work it underneath the staples and heads of the tacks to work them loose. I then pull them out with the needle nose pliers.

Removing the old tacks and staples can be tedious work, especially on a large piece, but it’s well worth it to take the time to remove them.

Sometimes there are layers and layers of old fabric. Luckily, this stool only had the one cover, before we got down to the original linen and burlap upholstery.
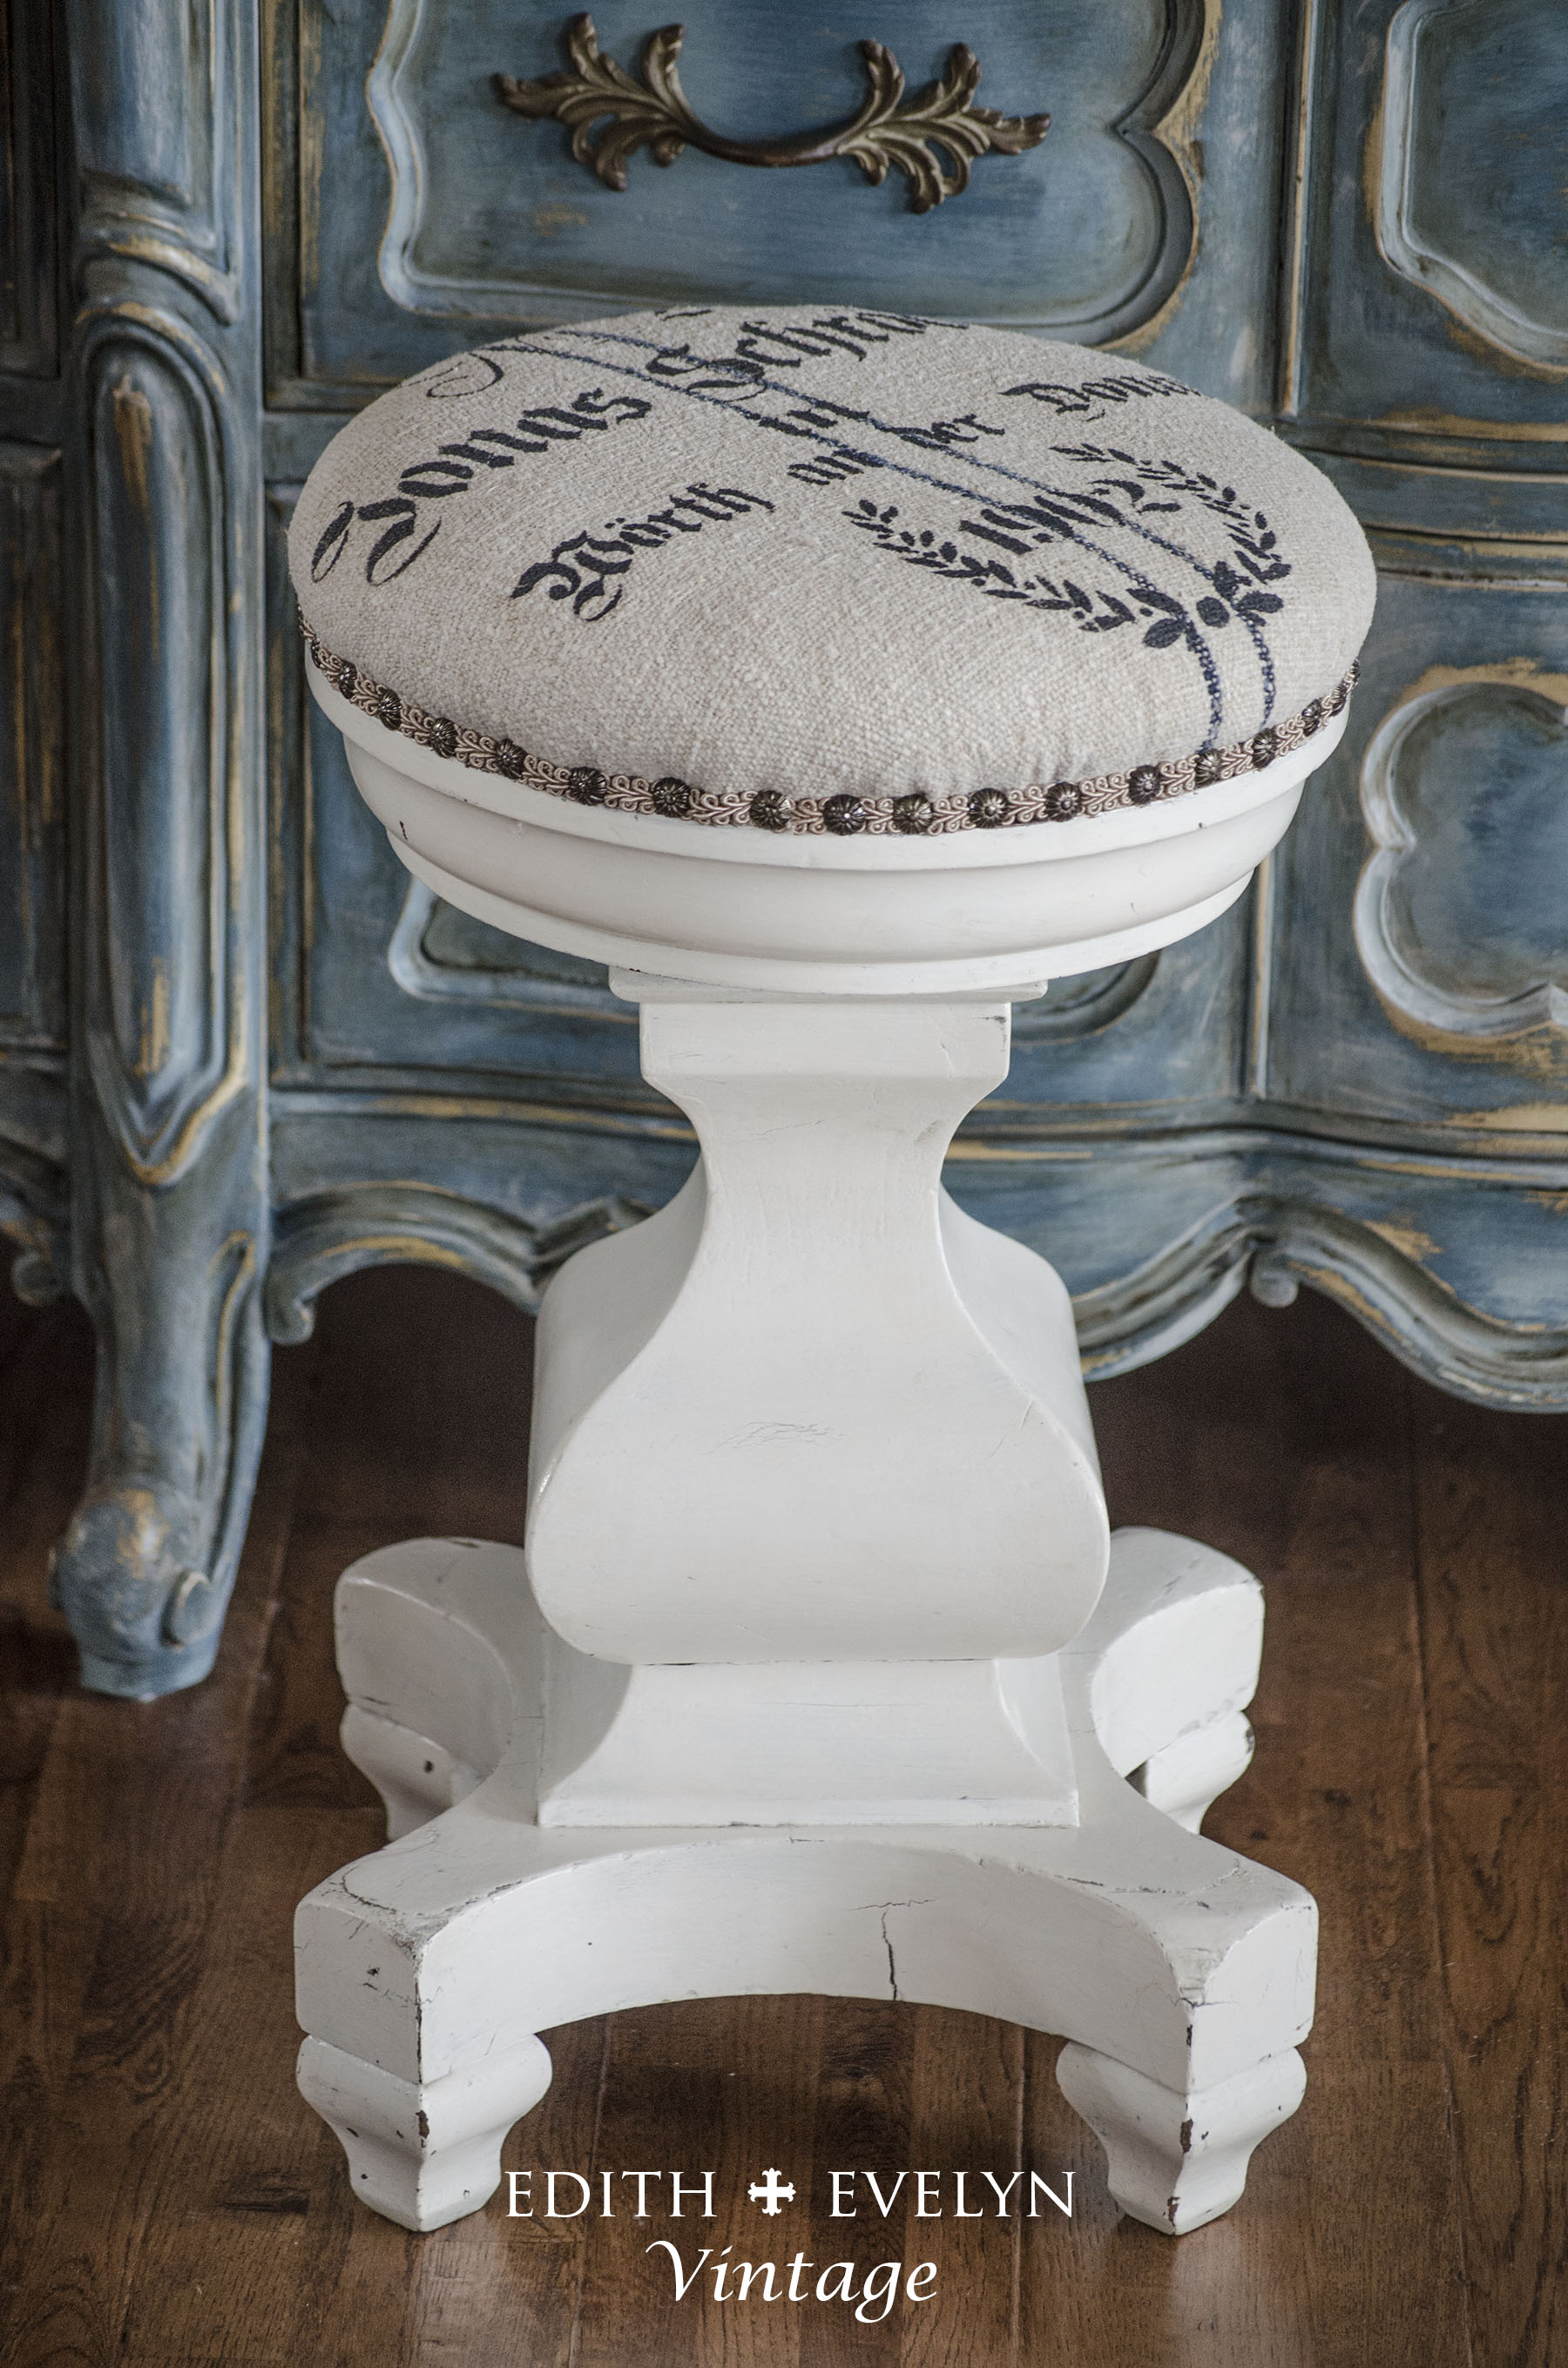
Ya’ll know my love of vintage grain sacks, and this stool was perfect to use one of my remnant pieces on. Grain sacks can be expensive so when I cut one up to use in upholstery, I save all the scraps, hoping to be able to use them for another project. Thankfully, I had a scrap piece of grain sack that worked for this little cover and I didn’t have to cut up a new sack.
I used the old seat cover as a pattern to cut out the new cover. I always cut the new piece a little bit larger than the pattern, and then just trim the excess once it is stapled in place. It’s easy to cut off extra fabric, but hard to add more if it’s not there!


Once the new cover was cut, I centered the design on the stool and stapled it with a staple gun on four sides to hold it in place. And then rotating around the seat, stapled the rest of the cover down.


Taking my fabric shears, I trimmed away the excess fabric.

To cover up the raw edges of the upholstery and the staples, I used gimp trim in a complimentary color, and just glued it down with a glue gun.

I don’t always use nail head trim, but I thought it would add a nice detail to the stool, so I just hammered these tacks right over the top of the gimp.

And here is the final result. I think she turned out beautifully.


The bottom is very heavy solid wood, that had been painted white some time ago, and had achieved a beautiful timeworn look, so we left the painted finish alone.


So if you’re thinking about trying some upholstery projects for the first time, start with something small. Small benches and stools can usually be found at thrift stores, flea markets, and yard sales for not a lot of money. They make for an easy beginner upholstery project.

Then you can move on to larger pieces!
Now that this small project is complete, the stool is headed into the shop!
Cheers,
Cindy
